Inserting Images
Beyond just text, you can also replace placeholders in your document with images. This is perfect for things like company logos, signatures, or product photos.
1. Replacing an Image
To replace a simple image placeholder, you'll use the setImage() method.
Example: template-image.docx
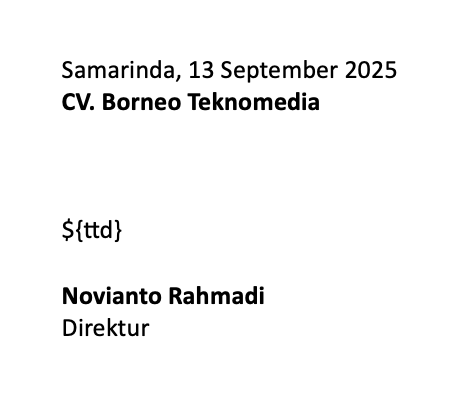
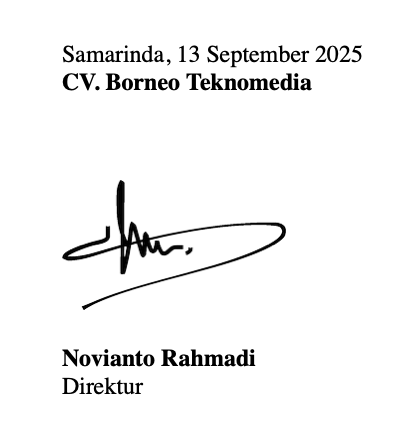
This template should contain a placeholder like ${logo} where you want your image to appear.
use Novay\Word\Facades\Word;

Route::get('/template-image', function ()
{
    $template = storage_path('app/templates/template-image.docx');
    $ttd = storage_path('app/templates/signature.png');

    return Word::template($template)
        ->setImage('ttd', $ttd)
        ->download('output.docx');
});
This code will replace the ${signature} placeholder with the signature.png image.
 ->
->
2. Replacing Multiple Images
You have a couple of ways to replace more than one image at a time.
Option A: Chain setImage()
You can chain the setImage() method for each image you want to replace. This is a good choice for a small number of images.
Word::template($template)
    ->setImage('signature', $signature, ['width' => 120])
    ->setImage('stamp', $stamp, ['width' => 200])
    ->download('output.docx');
Option B: Use setImages()
For a cleaner and more organized approach, especially with multiple images and options, use the setImages() method with an associative array.
Word::template($template)
    ->setImages([
        'signature' => [
            'path'  => $signature,
            'width' => 120,
            'height'=> 120,
            'ratio' => true // default: true
        ],
        'stamp' => [
            'path'  => $stamp,
            'width' => 200,
            'height'=> 100,
            'ratio' => true // default: true
        ]
    ])
    ->download('output.docx');
3. Images Within Loops
@TODO
4. Image Sizing Options
When inserting an image, you can control its dimensions using the width, height, and ratio options.
| Option | Type | Description |
|---|---|---|
width | int | Sets the image width in pixels. |
height | int | Sets the image height in pixels. |
ratio | boolean | Determines if the image's original aspect ratio is maintained (true) or not (false). |
How the Ratio Option Works
ratio | Description |
|---|---|
true (default) | You only need to specify a width or a height. The library will automatically calculate the other dimension to prevent the image from being distorted. This is the recommended option for most cases. |
false | You must specify both a width and a height. The image will be forced to fit these exact dimensions, which can stretch or squash it. |
📌 Quick Tips
- Use high-resolution images to ensure they look sharp, especially when printed.